Bathroom Remodel Pt. 2
- Drew Ratterman

- Mar 30, 2021
- 2 min read
Updated: Apr 1, 2021
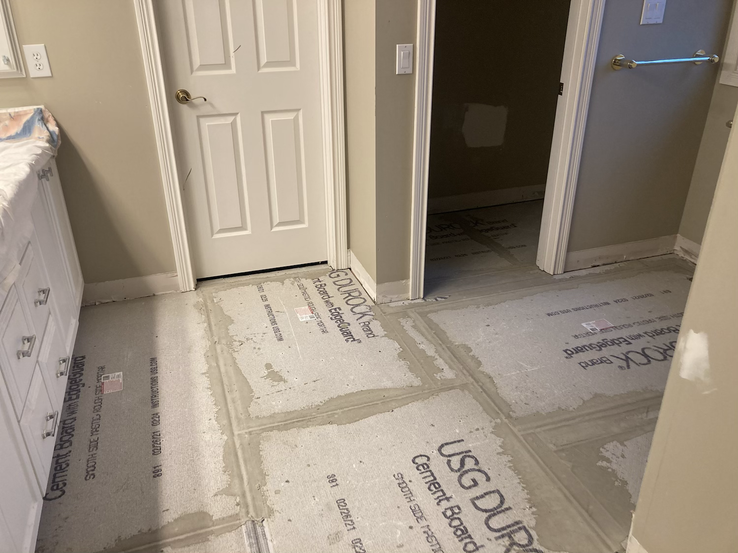
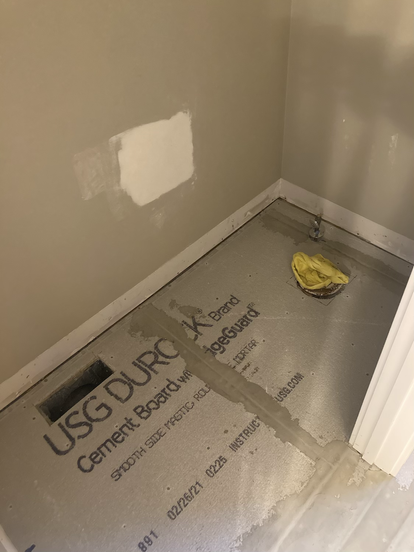
It's been a while since my last update and a lot has happened since then. In the last blog I finished the vanity and moved onto DEMO DAY!! Demo was done with a few tools; a hammer drill with a chisel bit, hammer, and crowbar. The floor was removed first followed by the shower. The shower floor was made of mortar and was broken up by lifting it up with the crowbar. The shower enclosure was removed by unscrewing the connections and simply taking it a part (Be carful as a dropped door or glass panel can hurt you or anything around you so take your time). The material was hauled away and then it was time for floor prep. The homeowner wants a curbless shower which means that the shower floor area needs to be recessed so that zero entry can be achieved. The subfloor was 3/4" thick and the concrete backerboard for the tile was 1/2" thick coming out to 1-1/4 inches. The issue is that the shower pan that we are using is 1-1/2" thick so I had to add 1/4" plywood around the shower area to build up the floor as shown below.

I used liquid nail and screws to make sure that over time the plywood wouldn't come back up and potentially ruin the tile. The tile contractor laid down new cement board with screws (specifically for the brand of cement board that is important to know) and taped and mortared the joints. I then recessed the floor and this was a more complicated task as the floor needs to be completely level or the factory made shower pan will not have proper drainage. Typically there is only one joist every 16 inches on center but for this project the shower is located over a beam and had at least two and sometimes four joists lapped together. I found the highest joist using a four foot level and made that the point that I would level the floor too as the pan would have a slight lip that would be compensated by the difference between the thickness of the shower and floor tile. In order to recess the floor I cut ledger boards to fit and attached them to the floor with a minimum of three structural screws spaced at 12" on center max. Since the joists were all at slightly different heights I had to use the level to make sure that when the OSB would be put down that the floor would be level. After that I attached the plywood with liquid nail and decking screws to prevent corrosion.

Well for now you all are caught up the next thing to do is to prep the subfloor for the pan and set the pan and then tile the shower! Until next time take it easy and stay safe!


Comments